
Tutorials · 3ds Max Workflow
ArchViz Toolkit Tutorial: Every Tool in the Free 3ds Max Panel, A to L
By Marcin Sroka · Studio3D · 9 min read
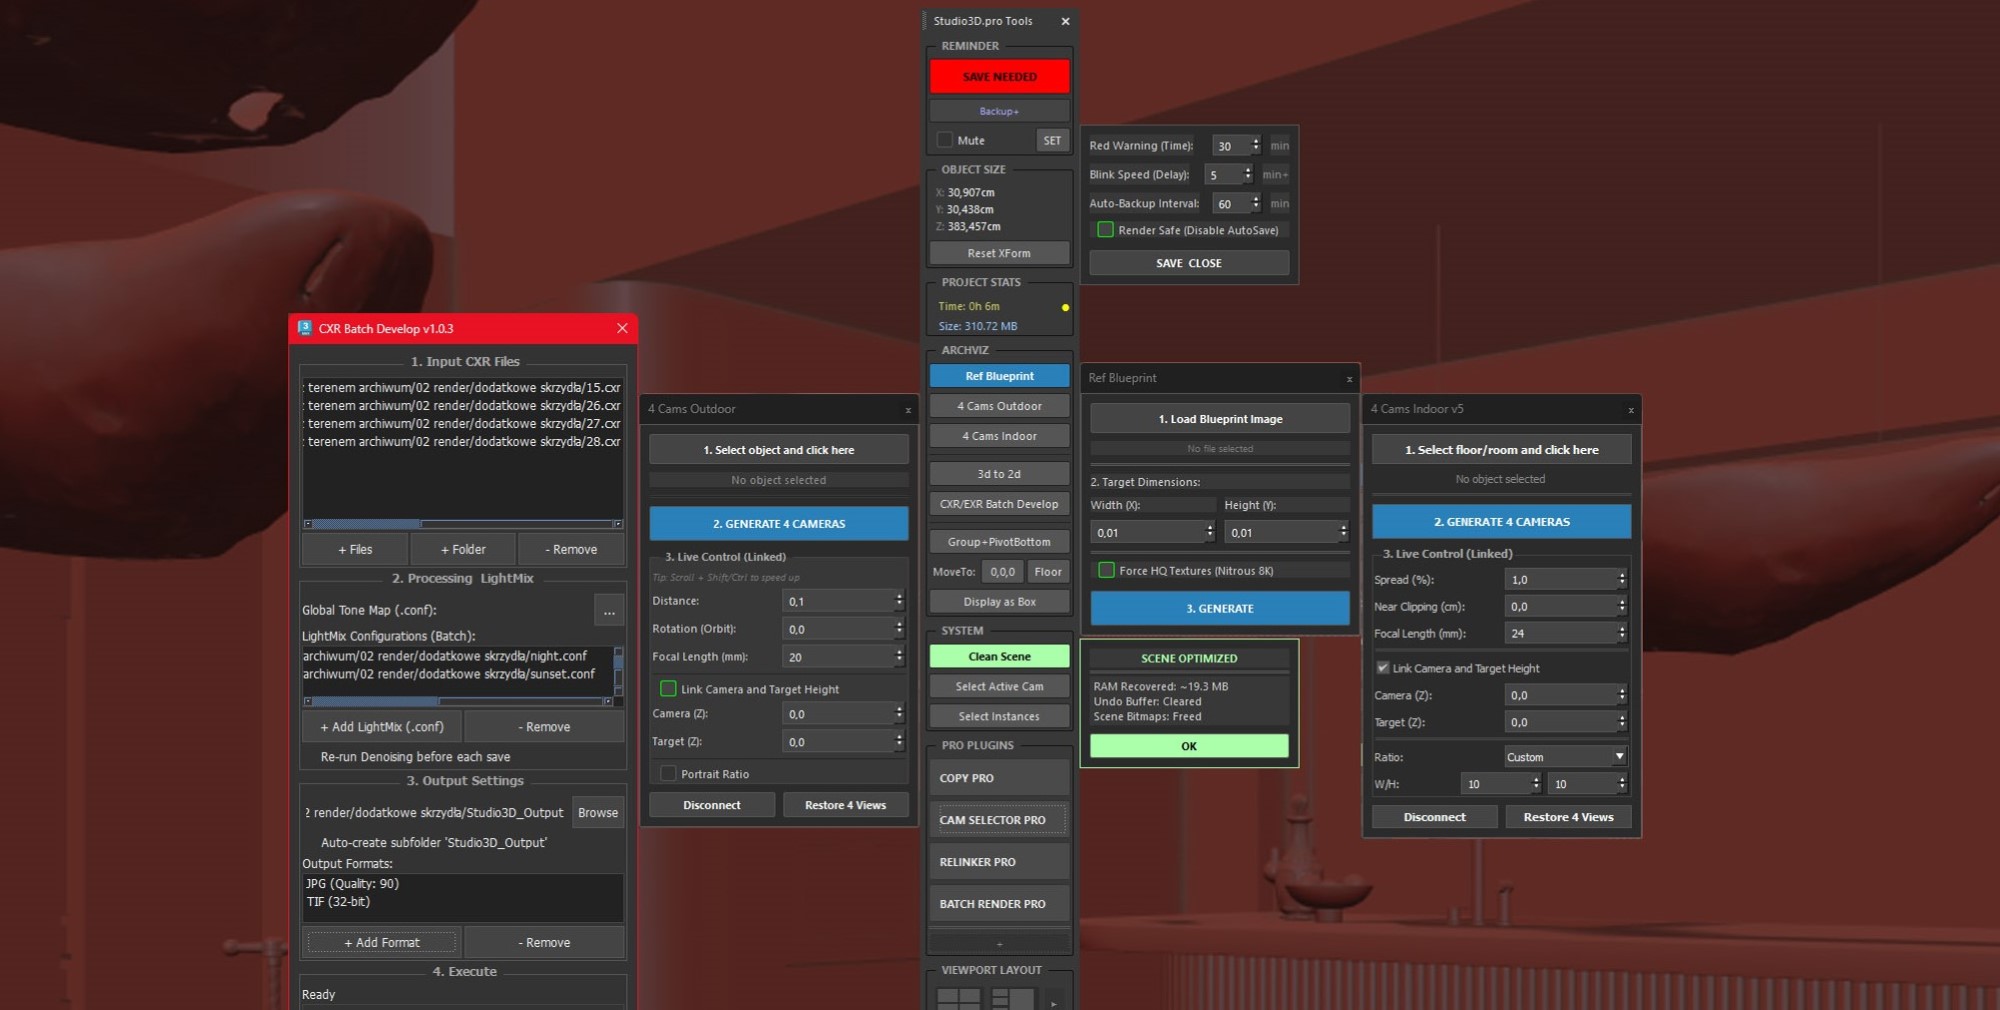
ArchViz Toolkit is a free, dockable panel for 3ds Max 2024-2027 that collapses the repetitive parts of an archviz day into single clicks and keeps your scene from being lost while you concentrate on the render. This tutorial walks through everything in the panel in A to L order, the same order as the product carousel, so the letter on a slide always matches a section here.
The short version
One panel replaces about thirty small trips around the 3ds Max interface. It saves and backs up your scene on a timer, reads and resizes objects in metric or imperial without touching Units Setup, manages layers faster than the native Layer Explorer, sets pivots, moves objects to the floor or ceiling, rotates with the scroll wheel, switches viewport layouts with sensible defaults and tracks how much time it saved you.
- Install: drag the file into a viewport, or Scripting then Run Script. It docks left or right, or floats.
- Every button has two functions: left click and right click. A grey corner triangle marks the ones that do.
- Free permanently, with a lifetime activation code, tested on 3ds Max 2024 through 2027, renderer agnostic.
Before you start: four things that explain the rest
The panel has a few conventions that run through every section below. Learn them once and the rest of this guide reads as a list rather than as an explanation.
- The panel reads the scene once per second. Object sizes, the pivot highlight, the save timer and the status LED all refresh on that one tick. Nothing is cached, which is why the panel stays light in a heavy interior.
- Every action is a named undo entry. S3D Resize, Move to Floor, Pivot Top, S3D Rotate. Ctrl+Z behaves normally and the undo list stays readable.
- A grey corner triangle means a second function under the right mouse button. It is the same marker 3ds Max uses on a flyout, in the same corner. Hold the right button and the button flashes the name of that function. A few buttons add a third variant under Ctrl plus right click, and the flash shows that one too. The markers can be switched off in UI Configuration once you know the panel.
- Settings live in two INI files. studio3D_pro.ini holds the configuration, Studio3D_License.ini the activation. Both survive a 3ds Max update and can be copied to another workstation.
Image / Screenshot
A. Never lose work again
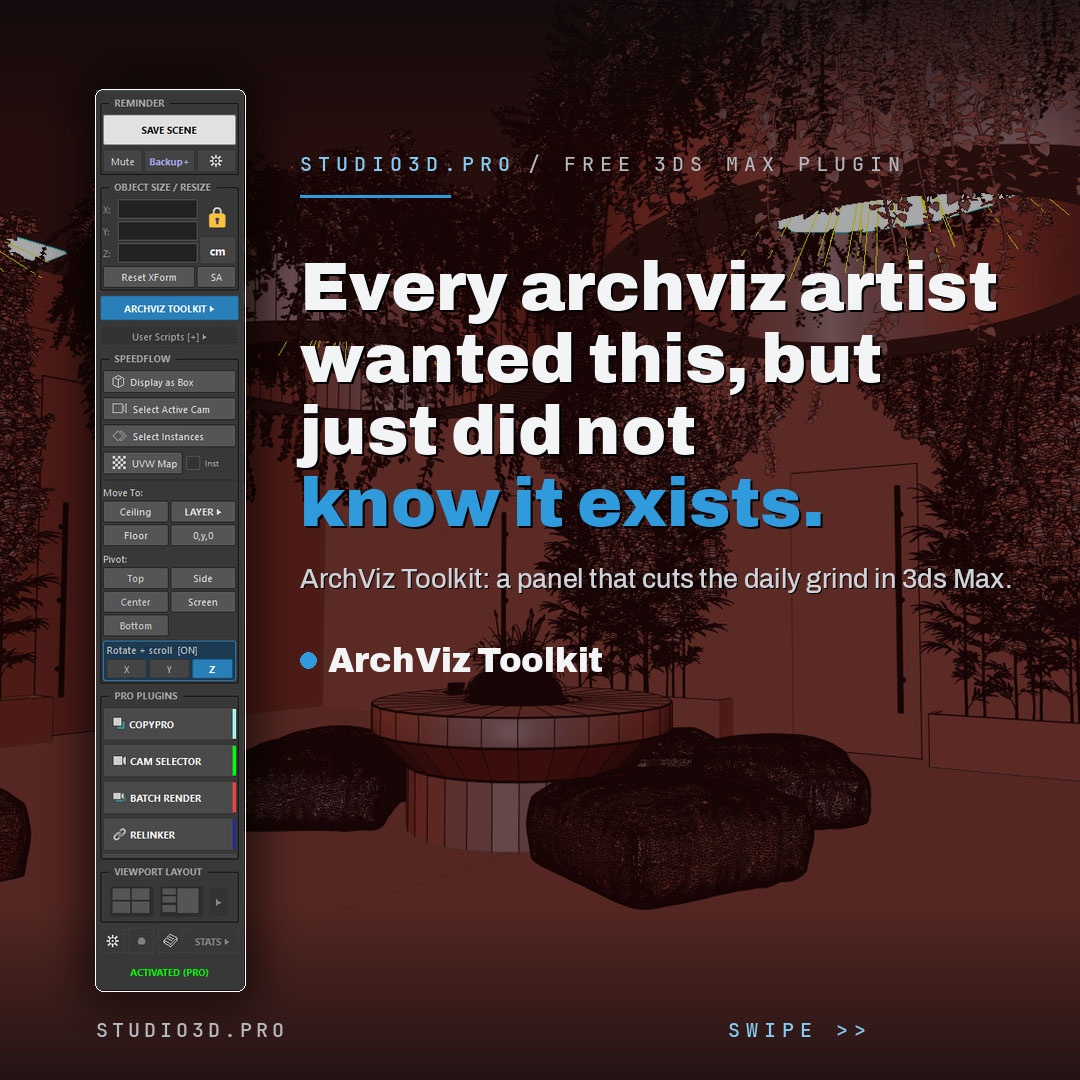
The REMINDER group sits at the top of the panel because it is the part that pays for itself first. The large SAVE SCENE button is a state indicator as much as a control.
- SAVE SCENE saves the current file, or opens Save As if the scene has no name yet. It also stamps your accumulated work time into the scene, which is what feeds Total Time in STATS.
- Warning thresholds: after 15 minutes without a save (Red Warning) the button turns red and reads SAVE NEEDED. After another 5 minutes (Blink Speed) it blinks red and white and reads !!! SAVE !!!.
- Mute stops the escalation and the button reads MUTED.
- Backup+ writes a timestamped incremental save into a backup_by_studio3dpro folder as scene_HH-MM.max, without clearing the unsaved-changes flag on your working file.
- Auto backup runs every 10 minutes (Auto-Backup Interval) into an autobackup_mastertool folder as scene_auto_backup.max. Five seconds before it fires the button blinks orange and counts down: BACKUP IN 5.
- Render Safe disables 3ds Max autosave for the duration of a render through the preRender and postRender callbacks, and the button reads RENDERING.
- Disable Native 3ds Max AutoBackup turns the built-in autobackup off entirely, for people who prefer one backup system to two.
- Reminder Settings behind the gear icon sets all three timers: 1 to 120 minutes, 1 to 60 minutes, 1 to 120 minutes.
Image / Screenshot
B. Instant sizing and dimensions
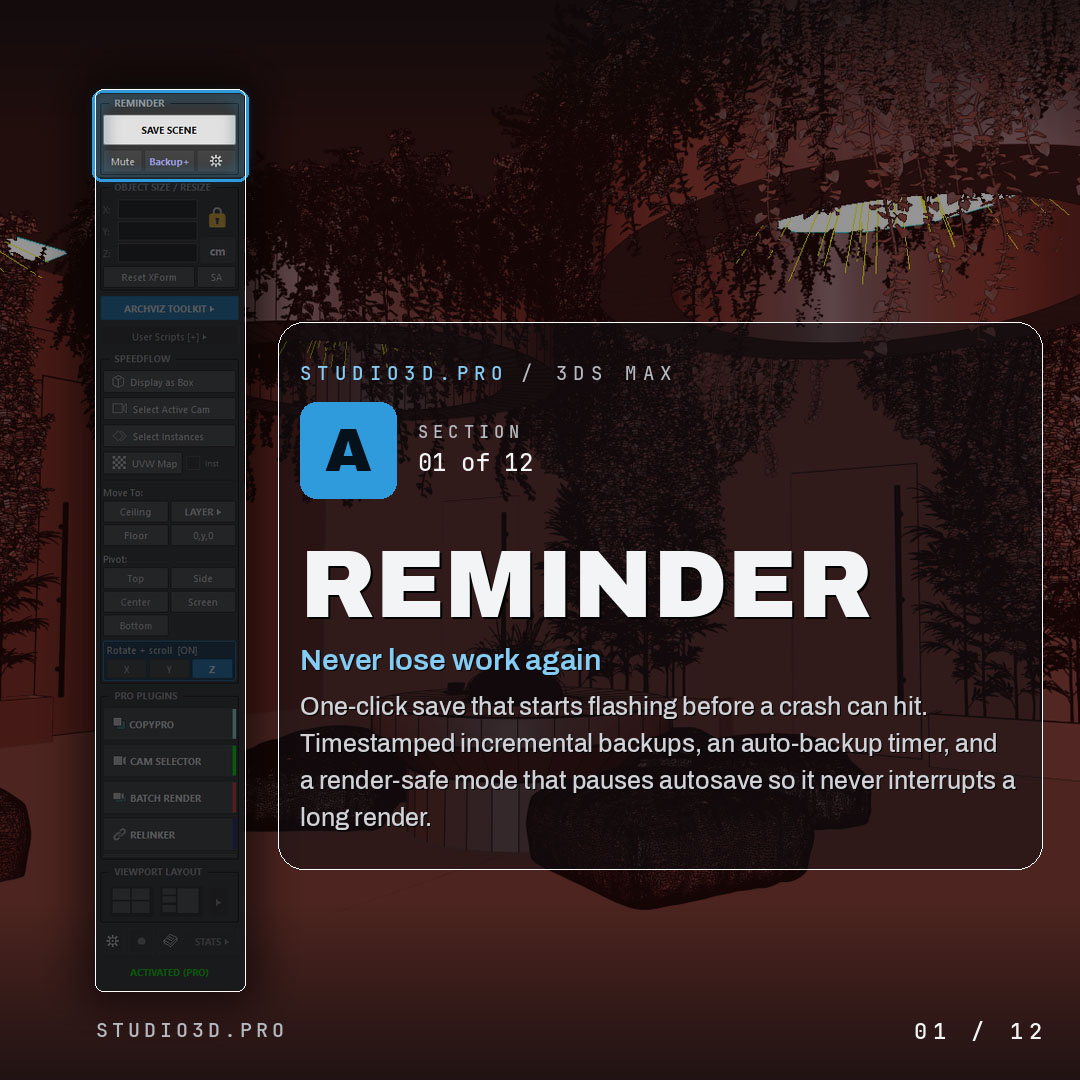
The OBJECT SIZE / RESIZE group shows the live bounding box of the selection in X, Y and Z. This is the deepest part of the panel, and it holds the metric and imperial units engine covered in detail in How to Measure in 3ds Max.
- Type a value and press Enter to resize the selection to that exact dimension. Clicking away does the same.
- The padlock, locked by default, keeps proportions and scales all three axes. Unlocked, only the axis you typed into changes.
- A single object scales in its own local coordinate system. A multi-object selection scales about the centre of the combined bounding box, so an arrangement keeps its layout.
- Scroll or the arrow keys step by one unit: 1 mm, 1 cm, 1 m, 1 inch in both inch modes, 1 foot in decimal feet. Shift multiplies by ten, Ctrl divides by ten in metric or steps one fraction tick in imperial.
- Alt plus scroll changes precision: 0 to 3 decimals in metric, fraction denominator 1, 2, 4, 8, 16, 32, 64 in imperial. Right click on a field cycles the same setting.
- The unit button cycles mm, cm, m or in, ft, ft-in. By default it changes only what the panel displays, so 3ds Max Units Setup stays untouched and the scene is never rescaled. Right click re-reads the units from the scene.
- Unit modes in UI Configuration: Auto follows 3ds Max including Generic, Metric and Imperial force the panel. A separate checkbox, Unit button changes 3ds Max units, restores the older write-through behaviour.
- The parser accepts 12, 3.5, 1,25, 120mm, 2.5cm, 1.2m, 24in, 24", 2ft, 2′, 3 1/2", 3-1/2, 1/2, 5’6", 5′-6" and 5′-6 1/2", plus a bare 5-6 1/2 in ft-in mode. In ft-in mode a bare number reads as feet.
- Input is normalised for typographic quotes and primes, for 1,250 as a thousands separator and for 1,25 as a European decimal comma.
- ft-in rounds the whole value first, so an object measuring 11 and 16/16 inches is written back as 1′-0" rather than as an impossible fraction.
- Reset XForm runs on the whole selection. Right click applies Collapse All instead.
- SA, Surface Area, sums the triangle areas of every selected object through snapshotAsMesh and reports mm², cm² or m² in metric, ft² for ft and ft-in, in² for inches.
Image / Screenshot
The layer manager
The LAYER button sits in the Move To row but deserves its own section, because it is the tool people end up using every hour. It exists because the native Layer Explorer becomes slow in the kind of scene archviz produces.
- A floating list that stays on top of 3ds Max, remembers its position, drags by the LAYERS title bar and resizes from the corner grip.
- Indentation shows nesting, and names sort A to Z inside each level.
- Left click a name: moves the selection onto that layer and closes the window.
- Ctrl plus left click: sets that layer active, marked with a blue border. Nothing moves, the window stays open, and whatever you model next lands there.
- Right click a name: selects every object on that layer.
- Checkbox hides or shows one layer, the eye icon toggles all of them at once.
- Add Mode, the plus button, drops whatever you pick in the viewport onto that layer live until you click it again. The fastest way to sort a merged model.
- NEW LAYER creates a layer, moves the selection into it and makes it active in one step. Right click closes the window.
- Right click the LAYER button for a cheat sheet with all of this plus three worked examples: sorting a scene by room, splitting lights into LGT_Sun, LGT_Interior and LGT_Fill, and cleaning up an import with Add Mode.
Image / Screenshot
archviz-toolkit-layer-manager-3ds-max.jpg
C. Built-in ArchViz menu
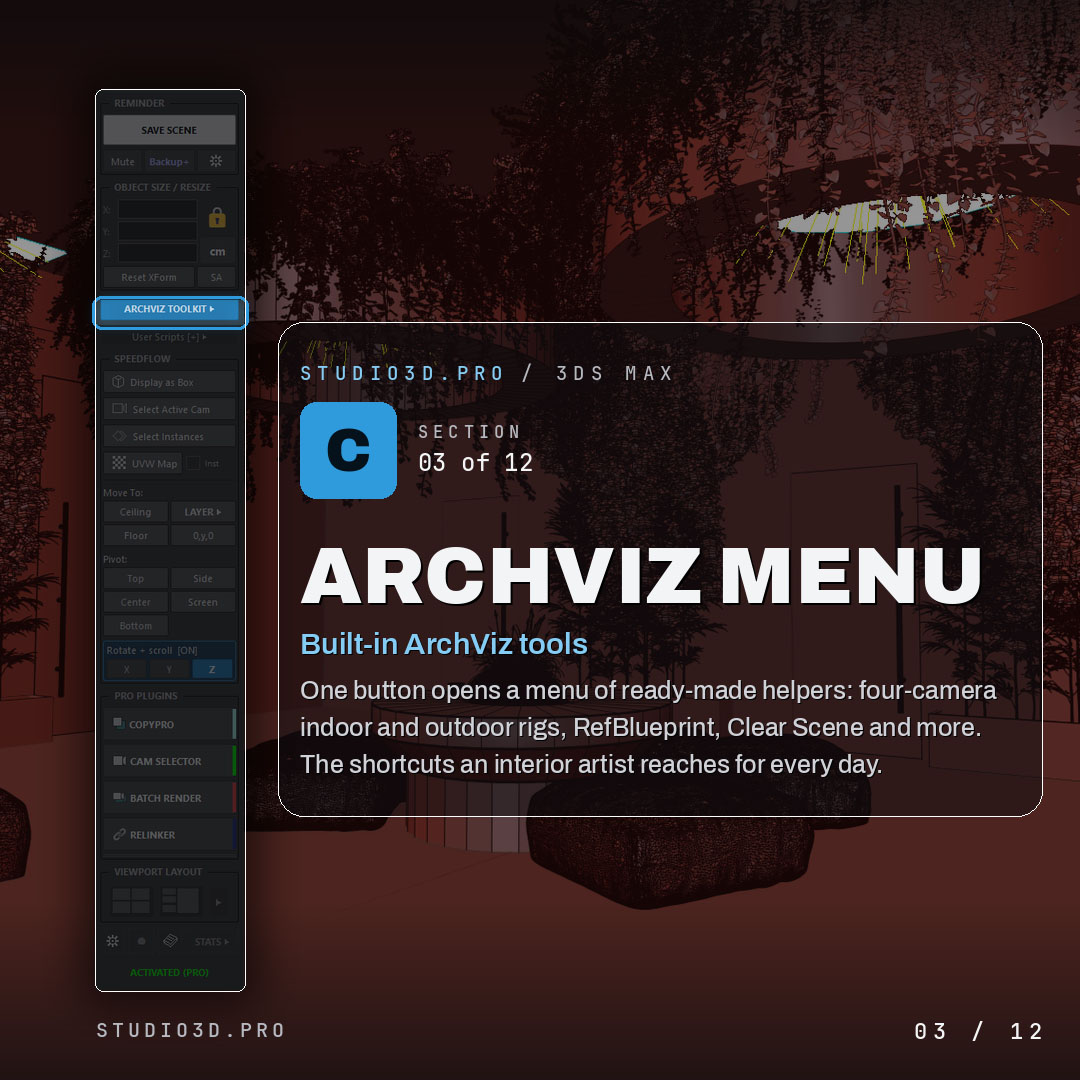
The blue ARCHVIZ TOOLKIT button opens a folder as a menu. Every .py, .ms or .mcr file in the ArchvizToolkit folder next to the panel becomes a button.
- Names are cleaned up: a leading 01_ is stripped and underscores become spaces, so 01_Camera_Rig_Indoor.ms shows as Camera Rig Indoor and sorts first. That gives you ordering without ugly labels.
- Shipped helpers include four-camera indoor and outdoor rigs, RefBlueprint and Clear Scene.
- The folder creates itself if it is missing, and the empty state shows the exact path in its tooltip.
- Against section D: this is a folder, good for a shared studio toolset that travels as a directory. Section D is a list of individual files, good for personal scripts scattered across your own drive.
Image / Screenshot
D. User Scripts, one click away
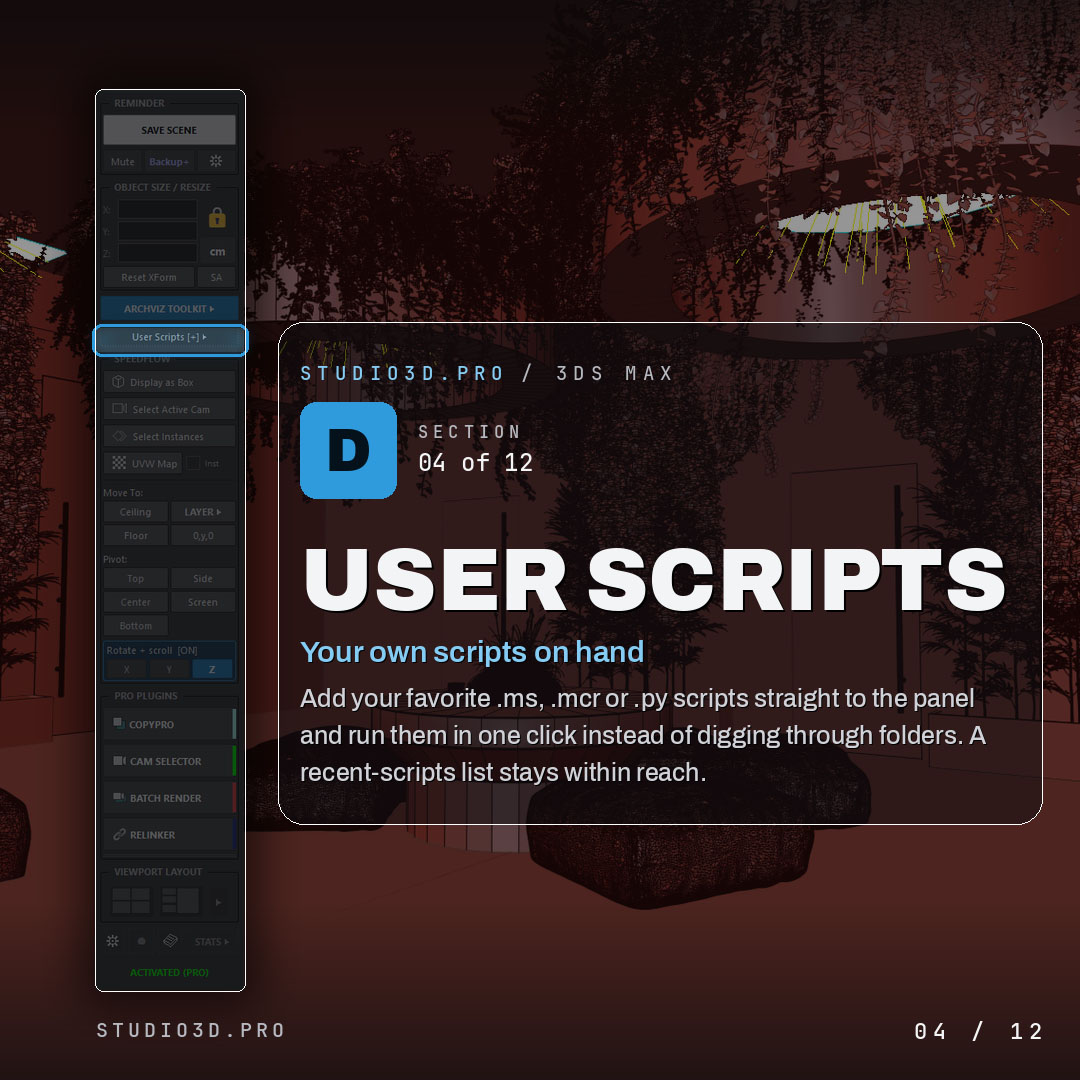
The thin User Scripts button under the ArchViz menu keeps your own scripts within reach instead of buried in folders.
- Add New Script opens a file dialog filtered to .ms, .mcr and .py, runs the file immediately and pins it to the list under a readable label.
- The list holds eight entries. Running one moves it to the top, so what you actually use floats up on its own.
- The minus button removes an entry from the list without touching the file.
- Python runs through the 3ds Max Python host, MaxScript through fileIn, so both behave exactly as they would from the Scripting menu.
- The list is stored in the INI, so it survives a restart and can be carried to another machine.
Image / Screenshot
E. Speedflow one-click actions
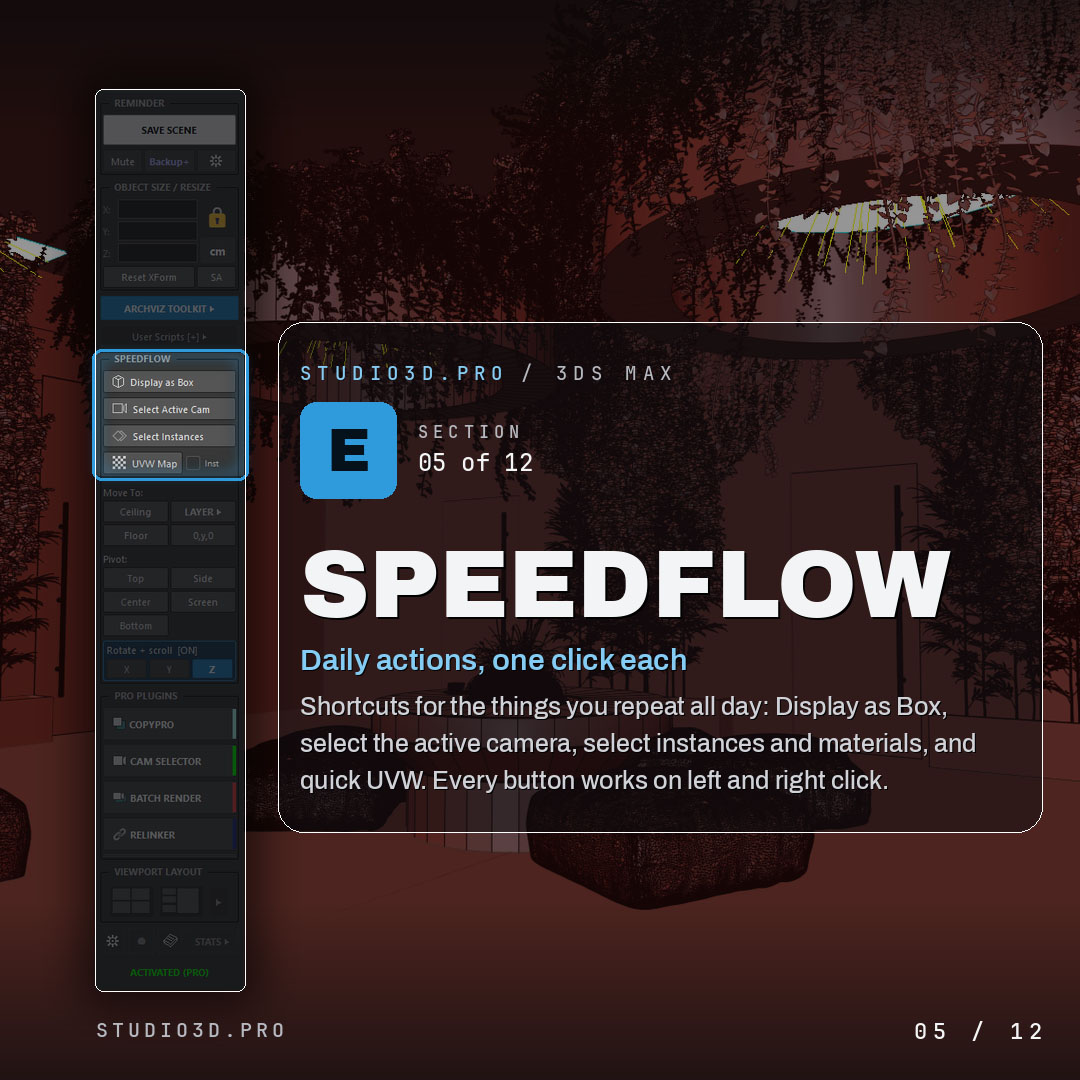
Four buttons, eight actions, because every one of them has a twin under the right mouse button.
- Display as Box: left click toggles Box Mode on the selection. Right click selects every Box Mode object in the scene and isolates it, which answers what did I switch to boxes an hour ago.
- Select Active Cam: left click selects the camera the active viewport looks through and jumps to Modify. Right click steps to the next camera and switches the viewport to it, Ctrl plus right click steps back. Camera targets are skipped.
- Select Instances: left click selects every instance of the selected object. Right click selects by material, which also finds the copies that fell out of the instance chain but still carry the same shader.
- UVW Map: left click applies a UVW Map modifier. Right click copies the modifier as an independent snapshot: map type, length, width, height, U, V and W tiling, gizmo transform, map channel, axis, flips and Real-World Map Size. The button confirms with Copied.
- The Inst checkbox decides what a paste means. Checked, every object gets the same modifier as an instance so later edits propagate. Unchecked, every object gets its own copy.
Image / Screenshot
F. Move To placement
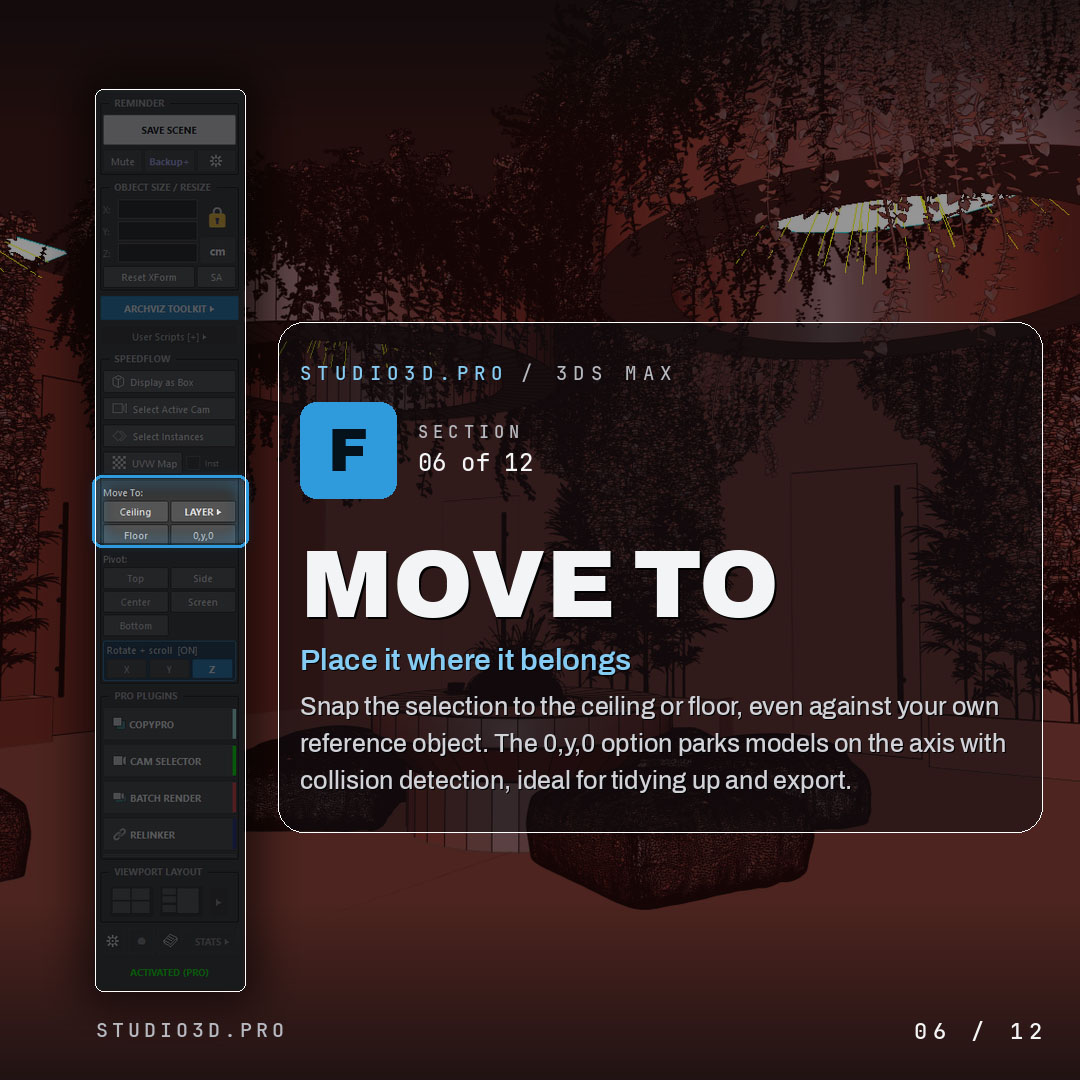
Four buttons that put objects exactly where they belong, with a reference surface you can define yourself.
- Ceiling lifts the selection until its top face sits at ceiling height, 300 units by default. Right click with one object selected makes that object the ceiling reference, and the underside of it is used from then on.
- Floor does the same downward, Z 0 by default. Right click sets a custom floor object: a platform, a stair landing, a table top.
- Both move the pivot to the centre of the relevant face first, and skip any object whose parent is also selected, so a linked hierarchy travels once instead of twice.
- 0,y,0 parks models on the origin axis with collision detection. It walks along positive Y and offsets by one metre, or three feet in imperial mode, whenever something already sits there. A tidy row ready for export or a library review.
- LAYER opens the layer manager described above.
Image / Screenshot
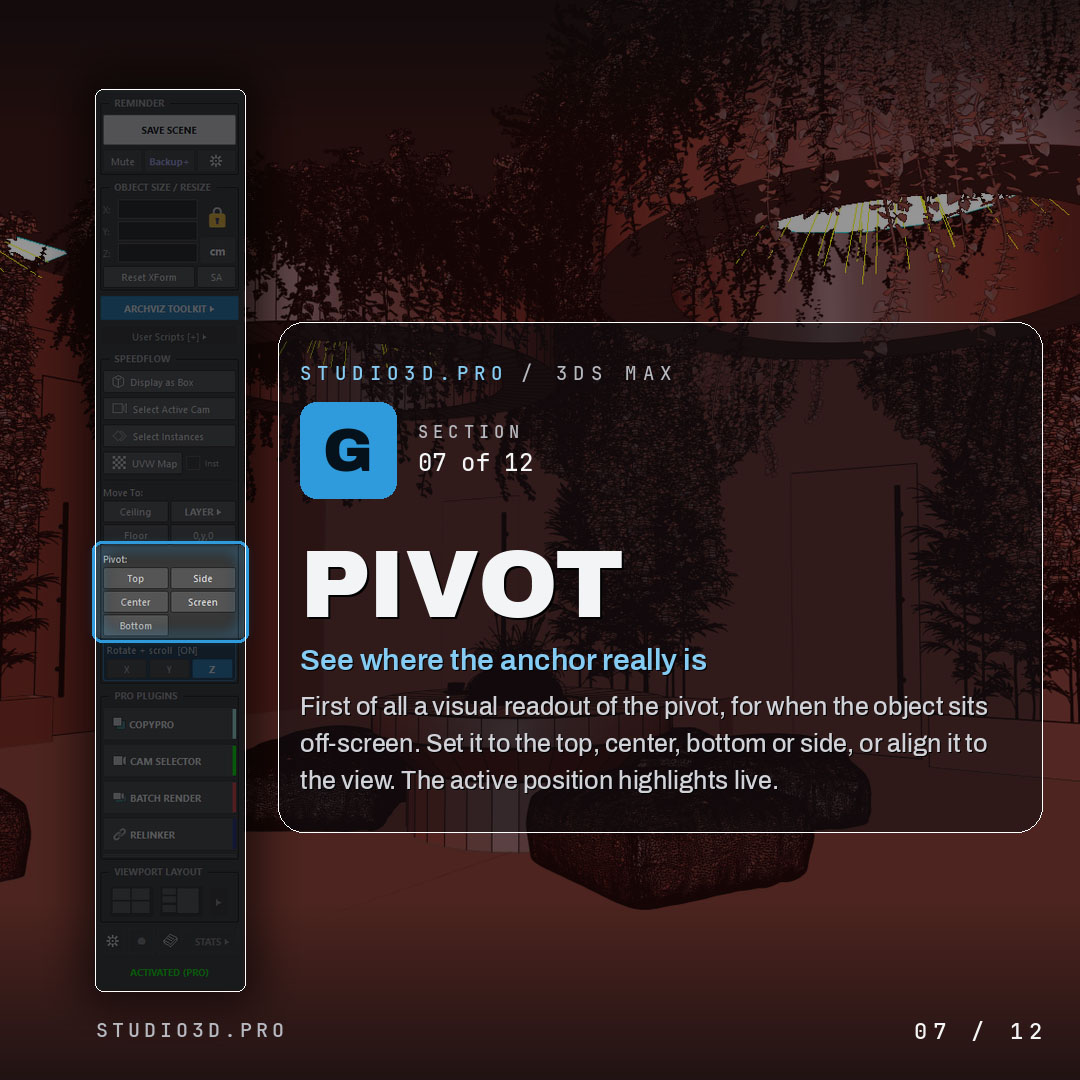
G. Pivot control
Five buttons, plus a live readout of where the pivot actually sits. That readout is the part most people miss.
- Top, Center, Bottom place the pivot at the bounding box centre in X and Y, and at max Z, mid Z or min Z. Bottom is the standard for furniture, because it is what makes Move to Floor, snapping and arrays behave.
- Side cycles the four side midpoints in order: plus X, minus Y, minus X, plus Y. A door leaf gets its hinge in three clicks.
- Screen pushes the pivot to the centre of the viewport at the same distance from the camera. In sub-object mode with a UVW Map modifier it moves the gizmo instead.
- Live highlight: the button matching the current pivot gets a blue edge, top border on Top, side borders on Center, bottom border on Bottom. You can read the pivot position even when it is off screen, which is exactly when it causes trouble.
- The first click behaves like every other one, because the panel silently primes Hierarchy then Affect Pivot Only in the background on first use.
Image / Screenshot
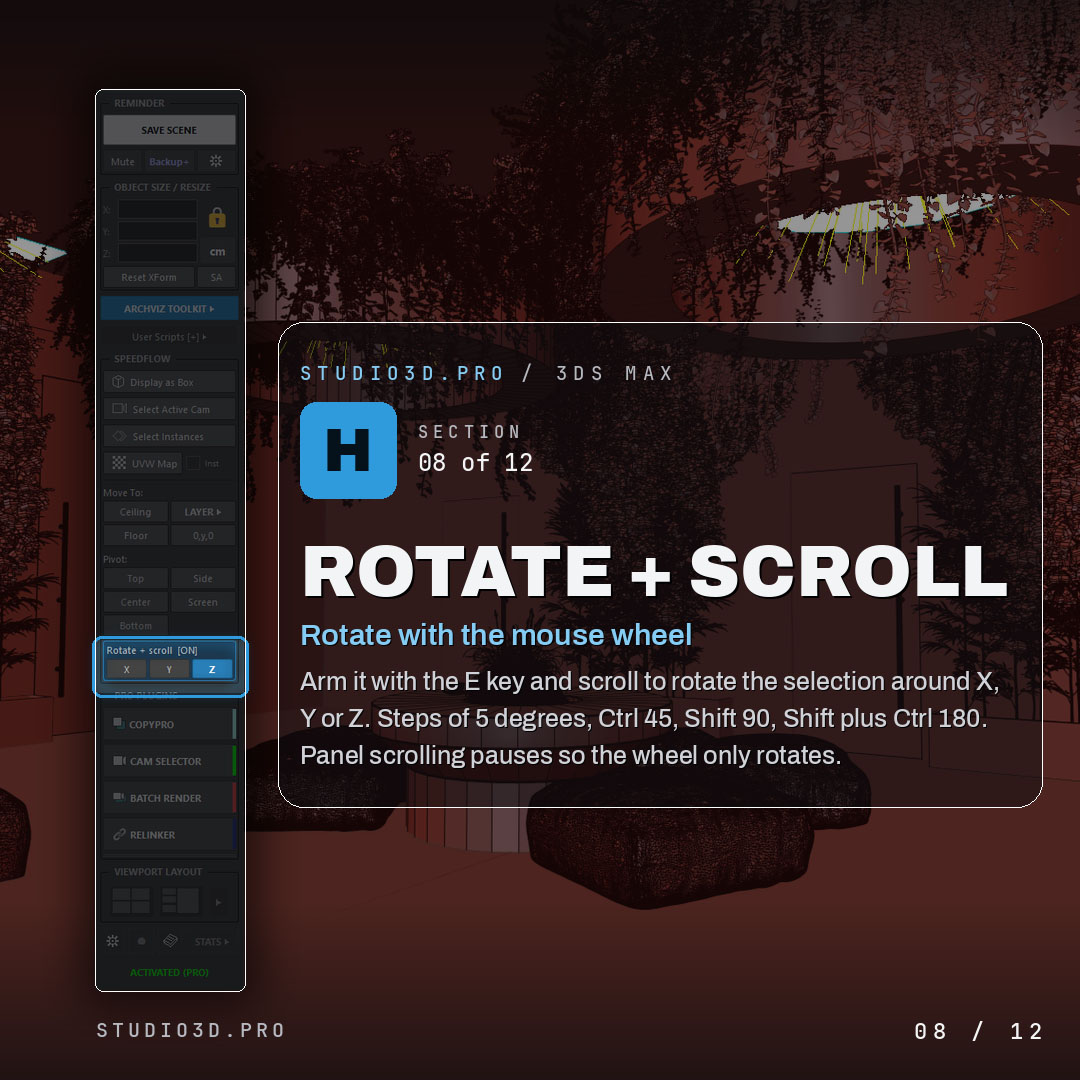
H. Rotate with the scroll wheel
A small framed block at the bottom of Speedflow turns the mouse wheel into a rotation tool, without leaving whatever you were doing.
- Arm it with the E key or by clicking the header. The block turns blue and reads [ON].
- Disarm it with W, R, Q or Esc, so returning to move, rotate, scale or select in 3ds Max switches it off for you. The key is ignored while you are typing in a field.
- X, Y and Z pick the axis, the active one is blue.
- Steps: scroll 5 degrees, Ctrl 45, Shift 90, Shift plus Ctrl 180.
- The panel stops scrolling while armed, so the wheel does exactly one thing.
- It rotates the way 3ds Max rotates: the axis follows the Reference Coordinate System and the centre follows the Transform Center flyout, Pivot Point Center, Selection Center or Transform Coordinate Center. Hybrid, the default since 2021, is mapped to World.
- In sub-object mode it rotates the gizmo, not the object, through setModContextTM plus notifyDependents so the viewport refreshes immediately. On a sub-object level with no gizmo, Editable Poly vertices for example, it deliberately does nothing rather than spinning the whole object.
Image / Screenshot
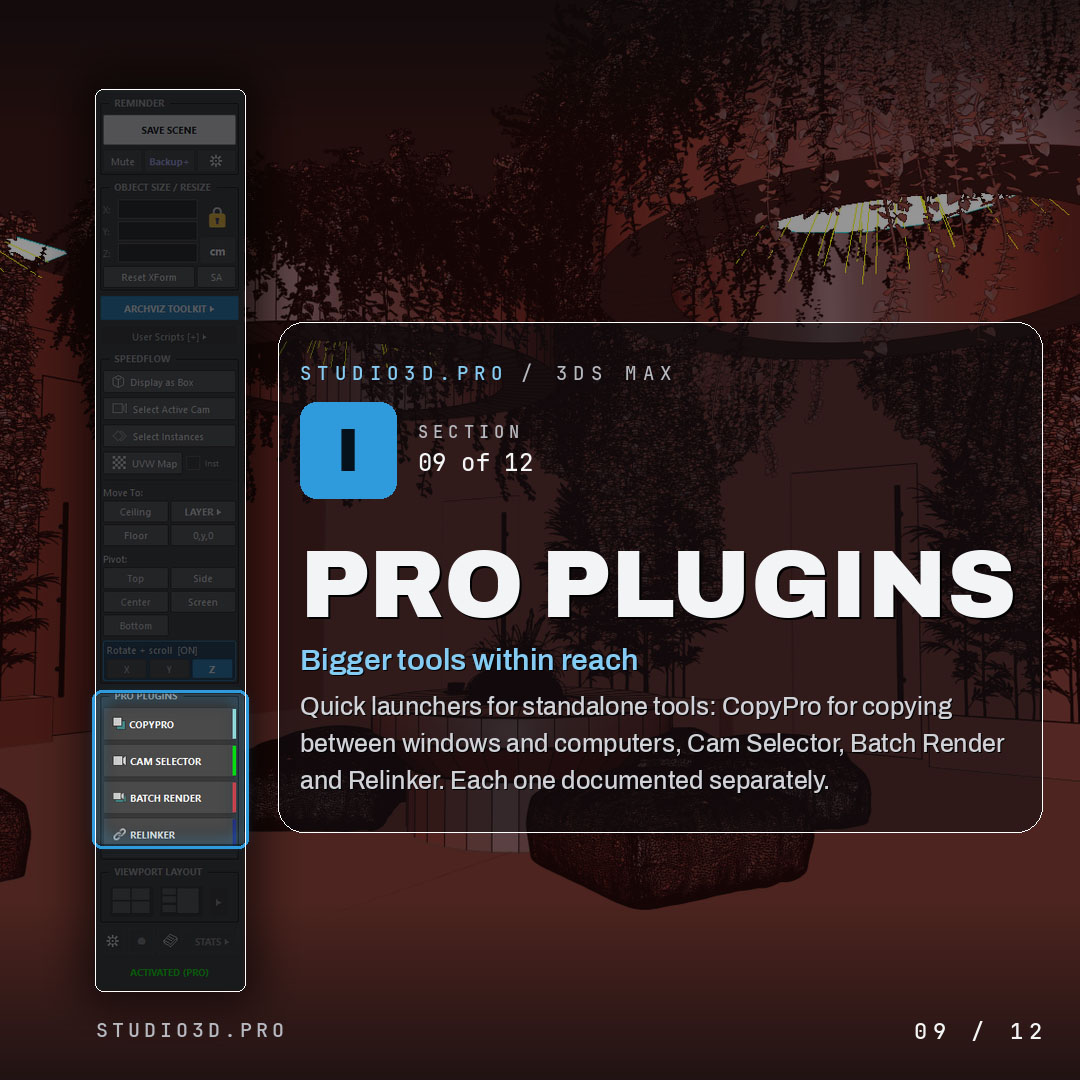
I. Pro plugin launchers
The PRO PLUGINS group collects the four standalone Studio3D tools in one place, so you are not hunting through menus for them.
- COPYPRO, CAM SELECTOR, BATCH RENDER and RELINKER, each with a colour stripe on its right edge.
- Left click runs the plugin, right click shows a one line description.
- The file is looked up in order: the toolkit folder, then user scripts Studio3D, then shared scripts Studio3D. A missing file gives a clear message rather than a silent failure.
- The plugins are standalone and work without the toolkit. The launchers are convenience, and a separate article covers what each one adds.
Image / Screenshot
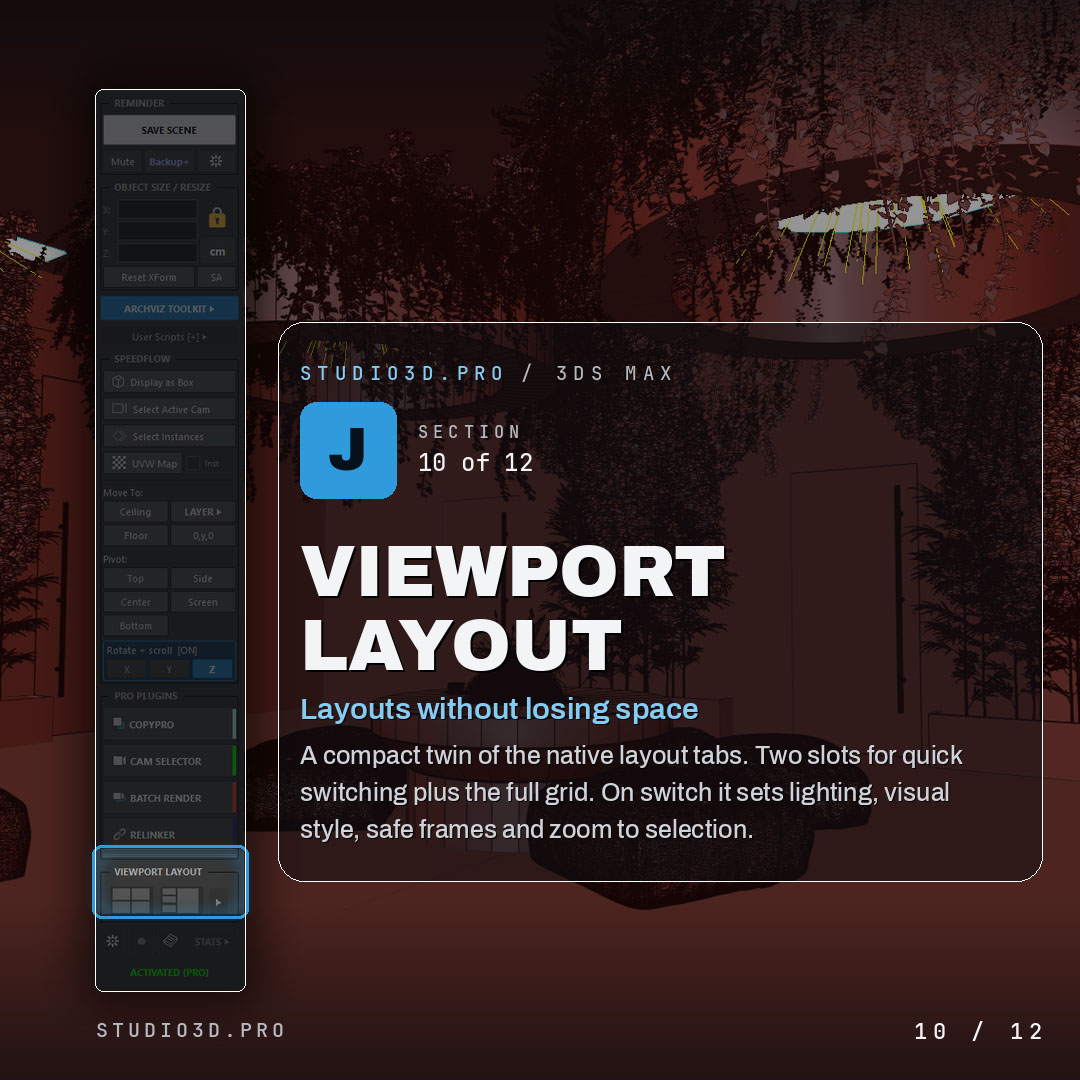
J. Viewport layout
A compact twin of the native layout tabs, plus a set of rules that tidy every viewport on each switch. The rules are the reason to use it instead of the tabs.
- Two slots show your last two layouts as small diagrams. Clicking the second swaps the pair, so the row works as an A/B toggle.
- The arrow opens the grid of nine standard layouts.
- 2 Default Lights are forced in every viewport on each switch, so a new layout never comes up in flat single-light shading.
- Edged faces, visual style and grid visibility are carried over from the viewport you were working in, instead of resetting to defaults.
- Safe Frames are turned on in viewports with a camera and off in viewports without one.
- Zoom to selection runs in viewports with no camera, so your object is framed the moment the layout appears.
- Clicking the VIEWPORT LAYOUT title forces 2 Default Lights everywhere and saves that permanently.
Image / Screenshot
K. Stats, status and configuration
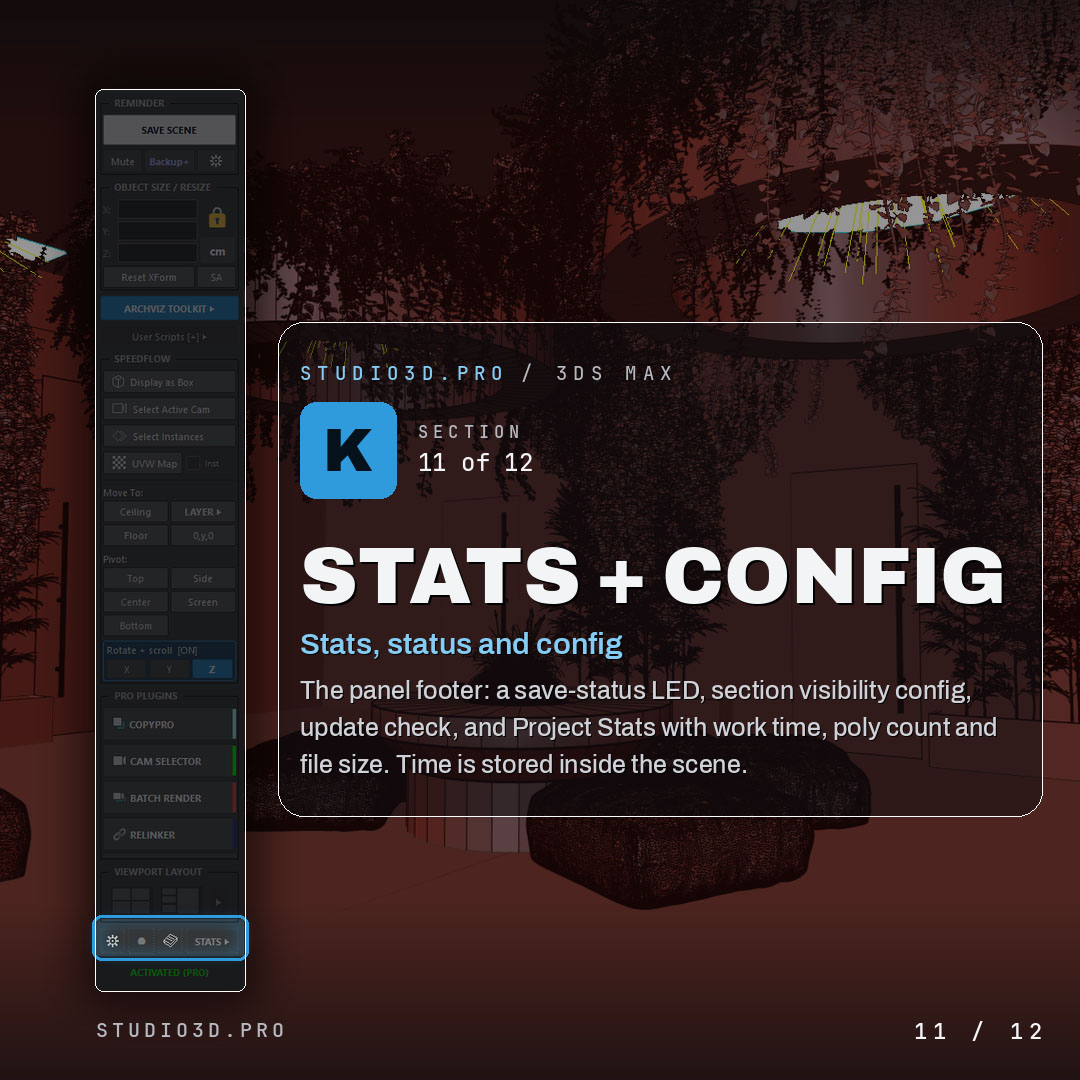
The bottom row holds a gear, a status LED, a learning link and STATS. The LED is small and worth more than it looks.
- Status LED: green means saved, yellow means unsaved changes or a scene that was never saved, red means the file folder is unreachable, a disconnected network drive, an unmounted disk, a renamed project folder. 3ds Max will let you work for hours before it mentions that.
- UI Configuration hides sections you do not use: Reminder, Object Size, the whole Speedflow group and separately the Move To and Pivot rows, Viewport Layout.
- The same dialog holds the unit modes, the Show right-click hints toggle, Check for Updates and Newsletter Subscription.
- STATS leads with time saved this month, alongside a per day average, an action count and the number of days you actually used the toolkit.
- Below it: Total Time, Session Time, Selection Polys and File Size. Total Time is stored inside the scene as a custom attribute, so it travels with the file to another workstation.
- The counter runs on a fixed, deliberately low table: select instances 25 s, surface area 45 s, copy UVW 20 s, move to floor or ceiling 20 s, group pivot 20 s, reset xform 15 s, resize 15 s, run a script 15 s, pivot 12 s, layer 12 s, 0,y,0 10 s, display as box 10 s, incremental save 8 s, camera 8 s, save 5 s, one rotation step 4 s. Pro plugin runs are not counted at all.
- Updates are checked at most once a week. The package is staged into an _update folder with a flag and installs on the next 3ds Max start, so an interrupted download cannot break a working installation.
Image / Screenshot
L. Free, with a lifetime activation code
Every tool in this article works without activation. There is no crippled mode and nothing is locked behind a wall.
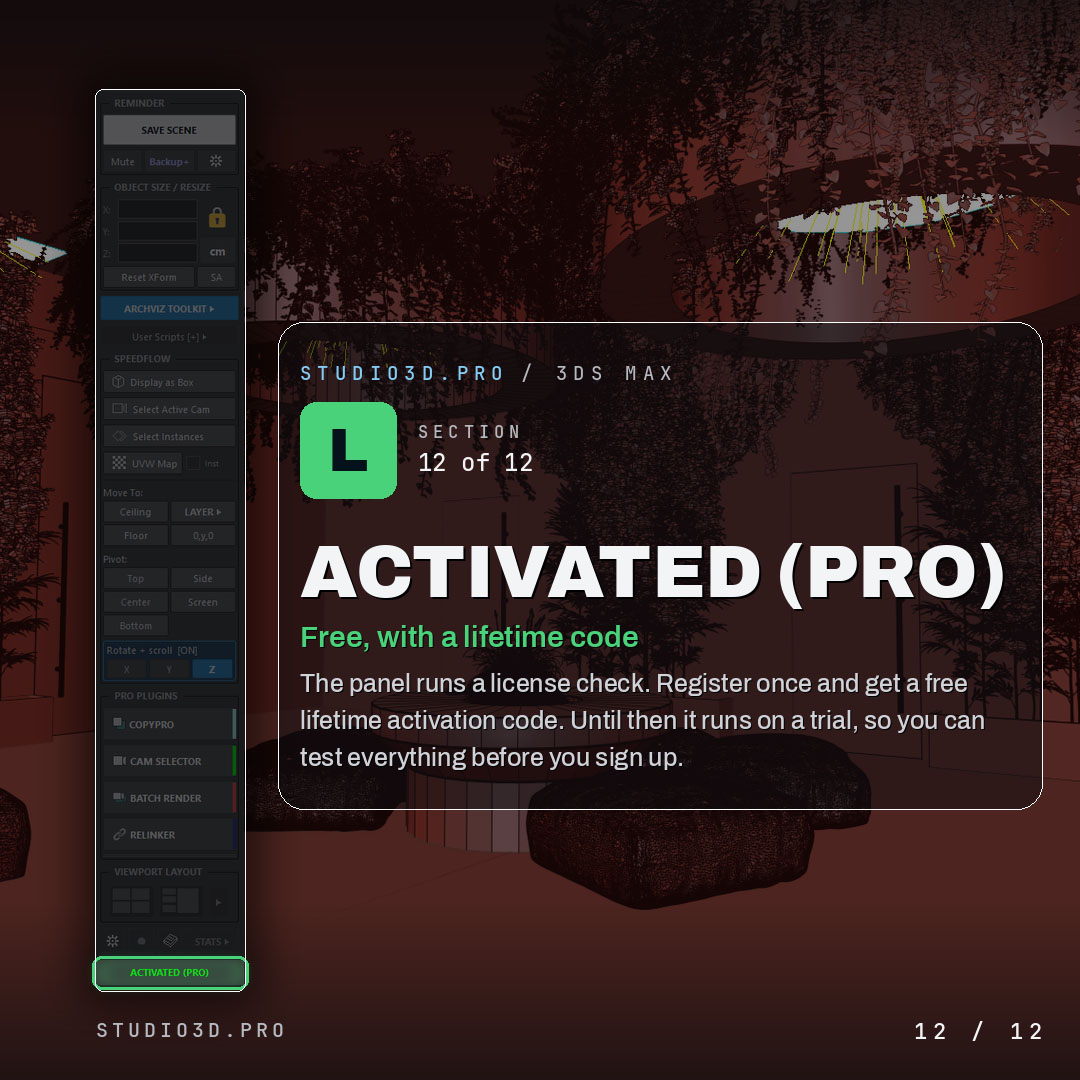
- A 21 day counter sits in the footer. When it runs out the footer changes to Get your free activation code and the tools keep working exactly as before.
- The activation window appears at most once a week after that, and never in the middle of anything.
- Two steps: enter your e-mail and press SEND ME A CODE, then paste the code and press ACTIVATE. The code is locked to that workstation and the Hardware ID is shown in the dialog.
- Activation gets you free updates, new tools first, priority bug fixes and support, a free preset and script pack, early access and discounts on the Pro plugins, and a vote on the next feature.
- The code does not expire, and unsubscribing from the newsletter does not disable it.
- The footer then reads ACTIVATED (PRO) in green.
Image / Screenshot
Every shortcut in one list
Keep this open for the first week. Almost all of the panel’s depth is in the right mouse button.
- E: arm and disarm scroll rotation. W, R, Q or Esc disarm it.
- Scroll over a size field: resize by one unit. Shift x10, Ctrl x0.1 or one fraction tick.
- Alt plus scroll over a size field: decimals in metric, fraction denominator in imperial.
- Right click a size field: cycle the same precision setting.
- Right click the unit button: re-read the units from 3ds Max.
- Right click Reset XForm: Collapse All.
- Right click Display as Box: isolate every Box Mode object.
- Right click Select Active Cam: next camera. Ctrl plus right click: previous camera.
- Right click Select Instances: select by material.
- Right click UVW Map: copy the UVW Map modifier.
- Right click Ceiling or Floor: set the selected object as the reference surface.
- Right click LAYER: open the shortcuts cheat sheet.
- Ctrl plus left click a layer name: set it active without moving anything.
- Right click a layer name: select every object on it.
- Click the VIEWPORT LAYOUT title: force 2 Default Lights everywhere and save it.
Your first hour with the panel
If you want a route through all of this rather than a reference list, do it in this order.
- Dock the panel on the left and set Red Warning to match your rhythm, 10 minutes for short bursts, 20 for long ones. Leave Render Safe on.
- Select an imported object, type the correct width with the padlock closed, then press Bottom in the Pivot group and Floor. That is the standard three step fix for a downloaded asset.
- Create one layer per room with NEW LAYER, then start switching off the rooms you are not rendering. The viewport gets lighter and so does RAM.
- Set your two working viewport layouts once, so the A/B toggle is ready when you need it.
- Add two or three of your own scripts under User Scripts.
- Check STATS at the end of the week. The figure is built from conservative constants, so if it says two hours it was probably more.
Wrapping Up
ArchViz Toolkit is not one big feature. It is about thirty small ones, each removing a few seconds from something you do fifty times a day, plus a save system that is there for the day something goes wrong. The right click layer roughly doubles what the panel does without adding a single row of interface, which matters for a tool that lives permanently on the edge of your screen.
It is free permanently, with a lifetime activation code, tested against 3ds Max 2024 through 2027 rather than left to break, and it works with Corona, V-Ray and anything else because it operates at the scene and file level.
Get ArchViz Toolkit, free
Everything in this tutorial is in the free ArchViz Toolkit. It installs as a single dockable panel, works with 3ds Max 2024-2027 and comes with a lifetime activation code. If you already run it, the built-in update notice points at the same download.
Download ArchViz Toolkit freeQuestions people ask
- Is it really free? Yes, permanently, not a time-limited trial. One e-mail registration gets you a lifetime code. There is no subscription and nothing inside the panel is locked.
- Which versions of 3ds Max are supported? 2024 through 2027, tested against the current versions on every release.
- Does it work with V-Ray and Corona? Yes. The toolkit works at the scene and file level, so the render engine does not matter.
- Can I work in feet and inches without changing my scene units? Yes. The units engine is independent of the System Unit Scale, precision runs from 1/2 down to 1/64 per field, and the unit button previews the other system by default.
- Will it slow down heavy scenes? No. The panel reads scene data on demand, and the layer manager exists precisely because the native Layer Explorer struggles in large archviz scenes.
- Do I need the toolkit to use the Pro plugins? No. Batch Render Pro, Camera Selector, Relinker Pro and CopyPro are standalone. The toolkit only gives them launcher buttons.
Tags: 3ds Max, ArchViz Toolkit, free 3ds Max plugin, archviz workflow, layer manager, pivot, UVW map, viewport layout, architectural visualization, tutorial